Paint Plastic Parts with Spray Paint
???? Paint Plastic Parts with Spray Paint
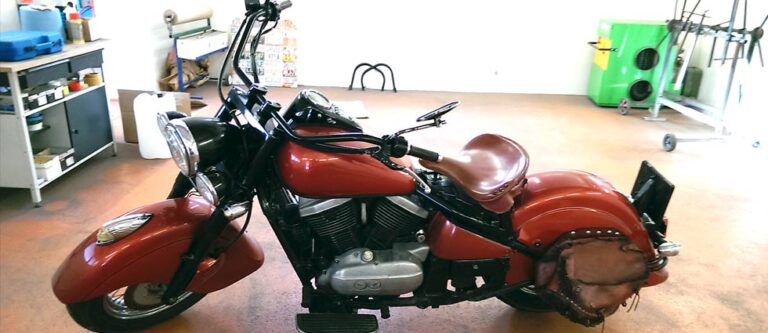
Bumpers, mirrors, spoilers and fender flares – paint them professionally
Difficulty
Easy
Time
3 Hours
Cost
€150
Savings
€500
Tools
None Required
Video Tutorial – Complete Plastic Painting
???? Matching Product for This Video
[dasauto_product id=”368834″]
The Problem
Parts like fenders, bumpers, mirrors, spoilers, and flares made of plastic that are replaced or added only look good when they are painted to match the car.
This is also possible without a professional spray gun – simply with dasAuto paint sprays.
Here’s How:
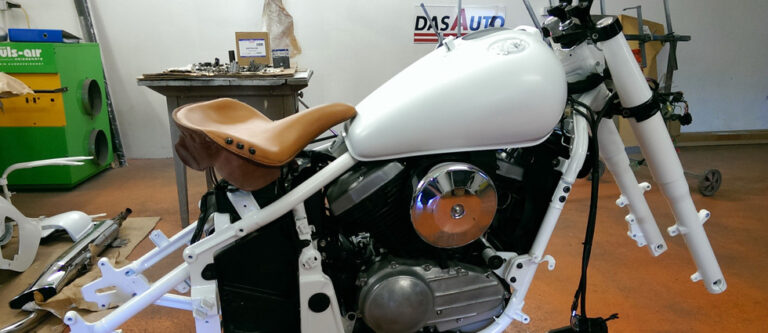
Preparation
The plastic part must be checked for exact fit, any manufacturing defects, storage or transport damage must be repaired and adjusted.
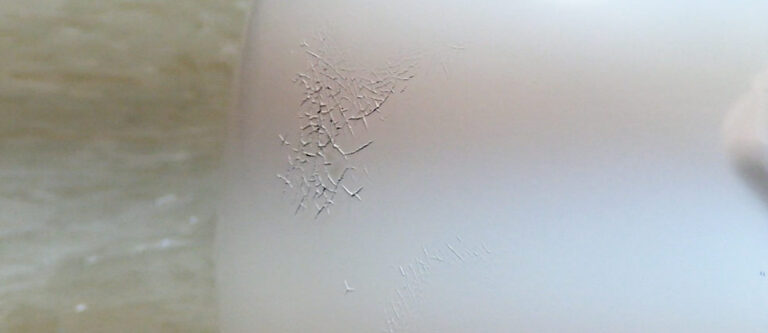
Plastic parts that have not been primed by the manufacturer should be carefully sanded with P800 wet sandpaper and thoroughly cleaned with silicone remover. Manufacturers use special solvents to help plastic parts release from the mold more easily. These solvents do not mix well with primer, filler and paint. Thorough cleaning prevents later problems.
???? Pro Tip
Create a dust and insect-free environment. If you work in the garage, the floor should be wet to avoid dust.
If you paint outdoors, it should be completely windless. The earlier in the morning, the fewer insects that might land on the freshly painted surface.
If it does happen, remove the insect with tweezers while the paint is still wet. The paint will level out and correct the mistake on its own.
Priming and Re-sanding
Apply two coats of plastic primer to the sanded and cleaned plastic part and let it flash off.
After 20 minutes of drying time, the plastic part is – depending on condition – ready for filler or final painting.
Take your time – the more thoroughly you sand, the better the result.
???? Pro Tip
To avoid missing any spots when sanding, professionals use guide coat. This way you can immediately see where you’ve already sanded and where you haven’t.
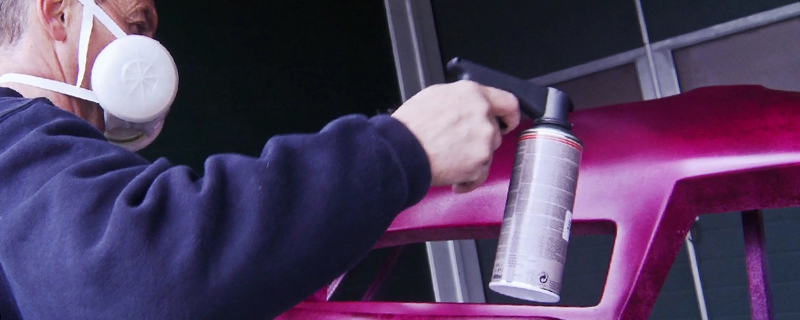
Painting
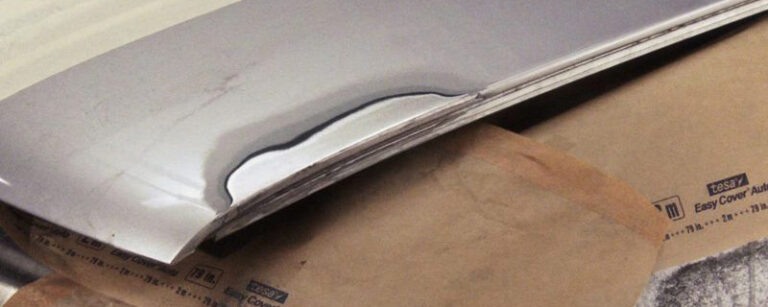
Once the filler is applied, dry (after about 20 min) and sanded, it’s finally time for paint!
Shake the paint spray vigorously for 5 minutes until the ball is audibly hitting and everything is well mixed. Attach the handle, spray the first thin coat (tack coat) and let it flash off for 3 minutes.
Then apply the paint in further thin coats until you have a nice, evenly covering paint layer. Always allow 3 minutes of flash-off time between coats.
The ideal spray distance is 30 cm, the ideal temperature 15 to 20 degrees.
⚠️ Warning
Don’t spray too much at once, otherwise you’ll get runs… In the video, Max shows step by step how to do it right.
Clear Coat – Top Coat
After about 30 min. drying time, the clear coat goes over the paint layer.
Shake the clear coat well and apply in 3-5 thin coats, allowing it to flash off after each spray pass.
The clear coat protects the metallic particles from oxidation, gives the paint gloss, and is absolutely necessary as a protective layer.
⚠️ Warning
With solid colors, no clear coat is required. If unsure, email info@dasauto.at or call the hotline (+43 (0) 3687 24515 during business hours).
Done?
If you now find small edges, transitions or runs in the paint, that’s no problem:
After 2 to 3 days the clear coat is completely cured and the edge is simply carefully removed with P2000 wet sandpaper and then polished to a high gloss.
Of course, you’ll now polish the entire car and preserve it with hard wax. High gloss and high spirits! Congratulations!