Repair Scratches on Car Paint
✨ Repair Scratches on Car Paint
Remove scratches and restore the shine
Difficulty
Easy
Time
30-60 min
Cost
€20-50
Savings
€200-400
Tools
Polisher/By Hand
???? Video Tutorial
???? Matching Product for This Video
[dasauto_product id=”368868″]
⚠️ The Problem
Scratches on car paint are annoying and lower the value of your vehicle. But not every scratch requires expensive professional repair. Many scratches can be removed yourself with the right technique!
Types of Scratches:
Clear Coat Scratches: Only the clear coat is affected. These scratches can usually be polished out completely.
Base Coat Scratches: The color layer is damaged. Touch-up and polishing required.
Deep Scratches: Down to metal. Requires complete repair with primer, paint, and clear coat.
???? Quick Test
Wet the scratch – if it disappears when wet, it’s a clear coat scratch and can be polished out!
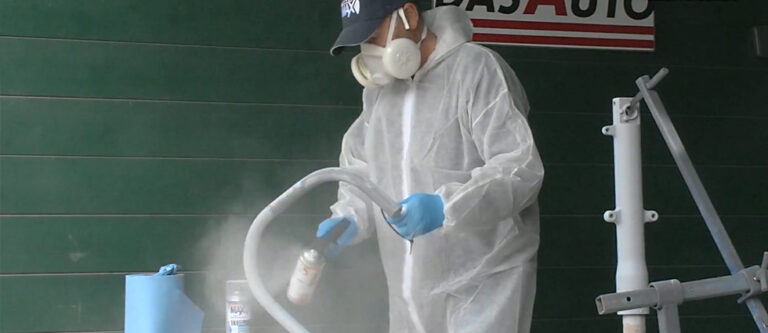
Here’s How:
Clean the Area
Thoroughly wash and clean the scratched area. Remove all dirt, wax, and silicone residues. Use silicone remover for best results.
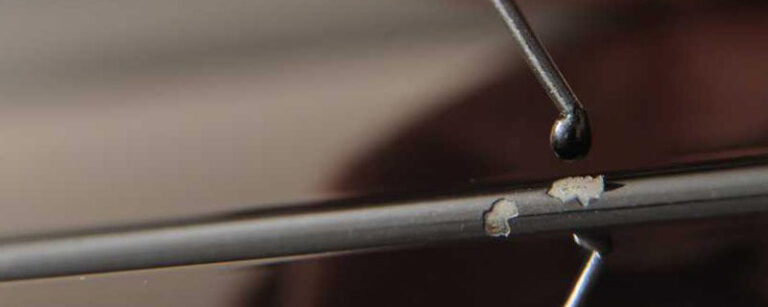
Assess the Damage
Run your fingernail across the scratch. If it catches, the scratch is deeper. If it slides smoothly, it’s likely just a clear coat scratch.
Polish with Compound
Apply polishing compound to a microfiber cloth or polishing pad. Work in circular motions with moderate pressure. The compound gently removes a thin layer of clear coat, eliminating the scratch.
Fine Polish
After the compound, use a finer polish to restore the gloss. Work in the same way – circular motions, moderate pressure.
Seal and Protect
Apply wax or sealant to protect the polished area. This step is essential – the polished surface is now more vulnerable without protection.
⚠️ Warning
Don’t polish too aggressively! Each polishing session removes a small amount of clear coat. On older cars with thin clear coat, be especially careful.
???? Pro Tip
A machine polisher makes the job faster and easier, but requires practice. For beginners, polishing by hand is safer – it’s harder to damage the paint.